

I am absolutely loving this look for summer. E!"s The Fabulist shared this amazing top knot on their show last night. I couldn't wait to try it out. It's messy and so my style.
here's a simple how to from E!

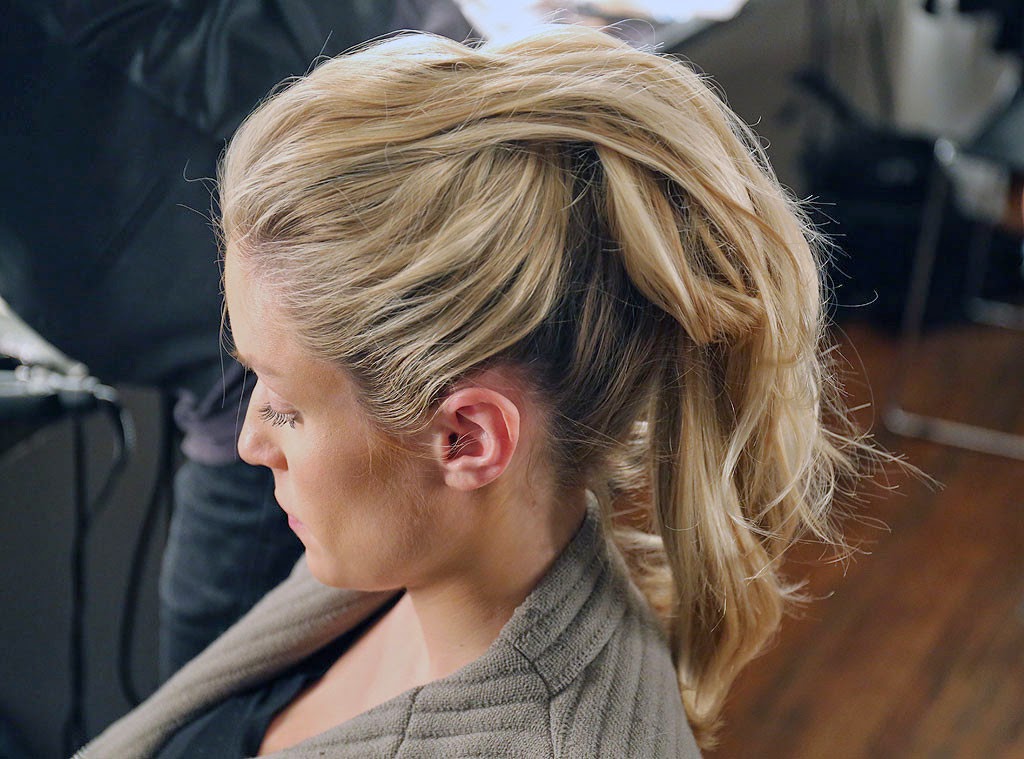
Step 1: Divide your hair, allowing the front of your head to be free, and put the back half of your hair securely in a tight and high ponytail.

Step 2: Style the front portion of your hair, creating waves and texture. Our hair stylist used a flat iron to be able to create a natural ripple effect going down her hair, starting with a section closest to the scalp.
Step 3: Finger comb the front of your styled hair and pin the portions into the back of your hair and ponytail. Careful not to use a brush here, as it can flatten the volume of the waves.

Step 4: Once your hair is pinned into place, braid the portion of hair that is in the ponytail. Stylist tip: Before braiding, volumize this section with a teasing brush. It will allow your final top knot to appear fuller and thicker in the end result!
*It looked like they twisted rather than braided here. I'm going to try the twist.

Step 5: Once you have completed the braid, don't finalize the loop with a rubber band. Instead, while holding onto the end of your hair, wrap the entire section of hair around the base of the ponytail. Pin the ends and any flyaways into place and you'll own the night in this finalized punk knot updo!
Happy Tuesday!
xoxo.
B

Post a Comment